How to Dump PS2 BIOS with Free McBoot 2026
If you run PS2 games on PC with PCSX2, you need a clean BIOS from your own console. I always dump my own BIOS instead of downloading random files. You avoid virus risk, bad dumps, black screens, and strange crashes.
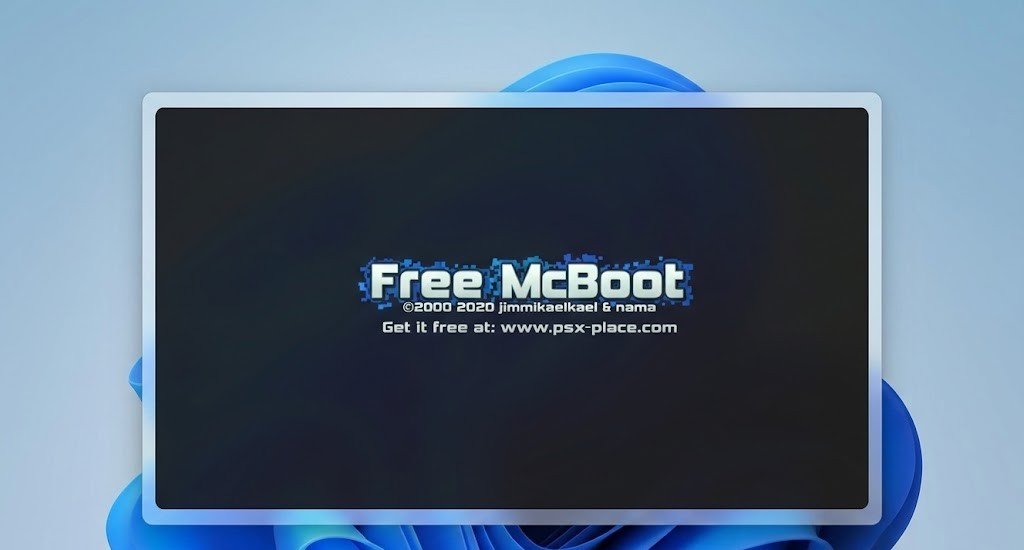
Free McBoot makes this process simple and safe. You press a few buttons on your PS2, copy files to USB, then point PCSX2 to those files.
In this guide, I will tell you all the steps with extra tips for new PCSX2 builds.
What Is a PS2 BIOS?
A PS2 BIOS is low level system software inside your console. It handles memory cards, region checks, DVD drive, and the main PS2 menu.
PCSX2 needs this BIOS to behave like a real PlayStation 2.
Typical dumped BIOS sets include:
- Main BIOS image – often a .bin file around 4 MB
- ROM1, ROM2 – smaller firmware files
- NVM or EEPROM – stores settings like language and video mode
When you dump BIOS from your own PS2:
- PCSX2 runs closer to your real console
- Games show fewer audio and timing glitches
- You avoid malware in shady downloads
I treat my BIOS like a system key. I never share it and I always keep a backup.
What You Need Before You Start
You only need a few pieces of hardware and two small tools.
Required Items
| Item | Details | Notes |
|---|---|---|
| PlayStation 2 console | Any retail model – fat or slim | Must read memory card and USB ports must work |
| PS2 memory card with Free McBoot | Free McBoot 1.966 or newer | Auto boots into a homebrew menu |
| USB flash drive | 1 GB or more, FAT32 format | Basic USB 2.0 sticks tend to work best |
| uLaunchELF | File manager and homebrew launcher (.ELF) | Often preinstalled with many Free McBoot cards |
| BIOS dumper ELF | Example: “DumpBIOS-Mass.elf” | Copies BIOS set from PS2 to USB |
| PC or laptop | Windows, Linux, or macOS | Needs PCSX2 installed |
Recommended Table – PS2 Model Support
| PS2 Model Type | Model Range | BIOS Dump With This Method |
|---|---|---|
| Fat | SCPH-10000 – SCPH-500xx | Yes |
| Slim | SCPH-700xx – SCPH-900xx | Yes |
I have used this workflow on both a fat SCPH-39001 and a slim SCPH-77001 with the same steps.
Quick Legal And Safety Notes (2026)
I am not a lawyer, so always read local laws first. General rules many regions follow:
- Dump BIOS only from a console you own
- Keep BIOS files private and personal
- Avoid uploading BIOS or sharing download links
Safety tips:
- Use a known working USB stick
- Avoid power cuts during dumping
- Do not pull the USB stick out while files write
- Store one backup copy on another drive one you finish
Treat the BIOS like a unique console fingerprint.
How Dump PS2 BIOS With Free McBoot
Follow these steps in order. Do not skip any.
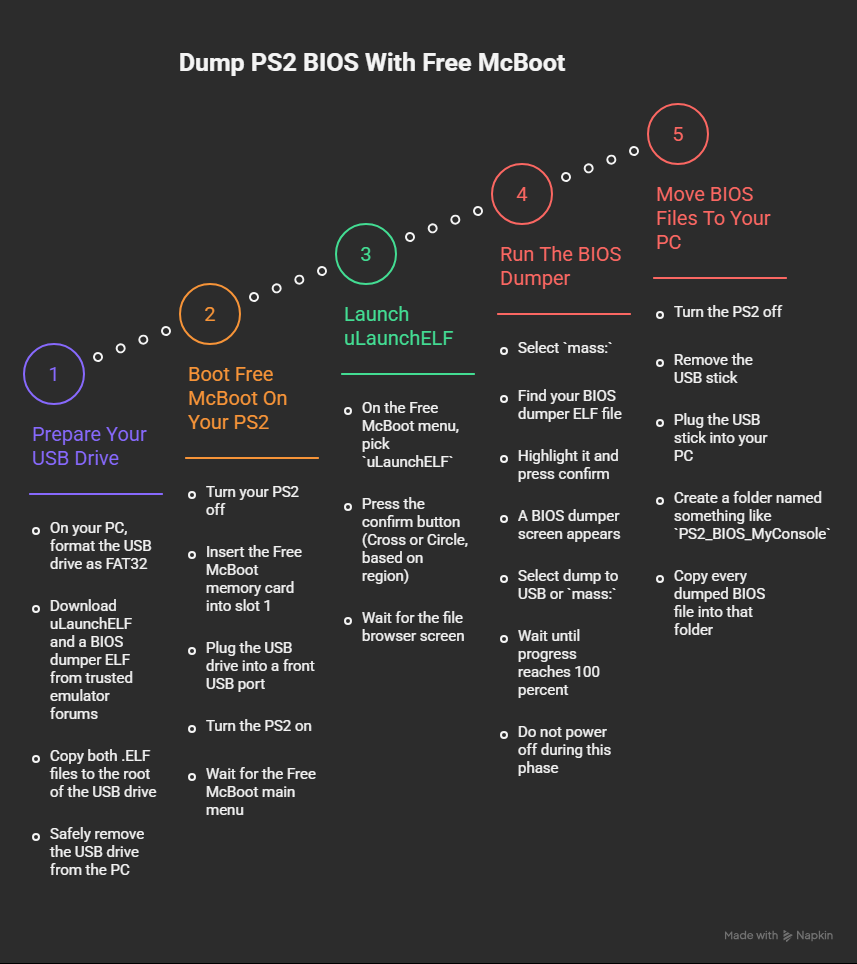
Step 1 – Prepare Your USB Drive
- On your PC, format the USB drive as FAT32
- Download uLaunchELF and a BIOS dumper ELF from trusted emulator forums
- Copy both .ELF files to the root of the USB drive
- Safely remove the USB drive from the PC
Keep file names simple, for example:
uLE.elfDumpBIOS-Mass.elf
Step 2 – Boot Free McBoot On Your PS2
- Turn your PS2 off
- Insert the Free McBoot memory card into slot 1
- Plug the USB drive into a front USB port
- Turn the PS2 on
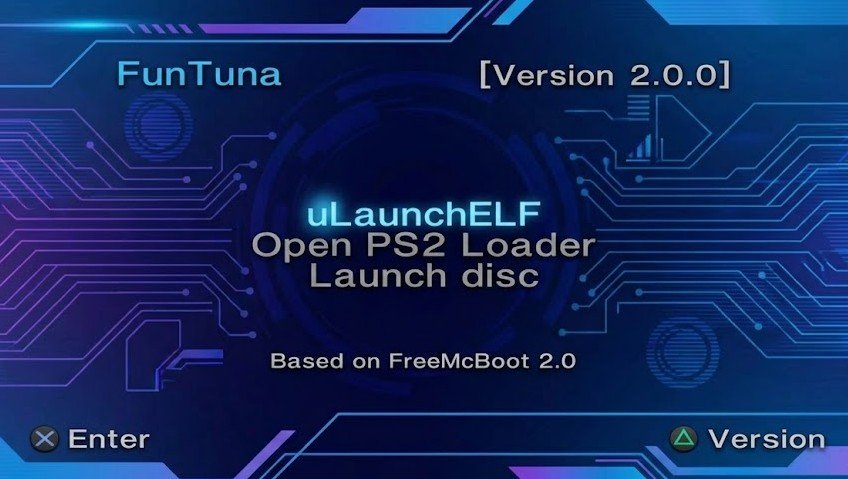
- Wait for the Free McBoot main menu
Most Free McBoot setups already include uLaunchELF in this menu.
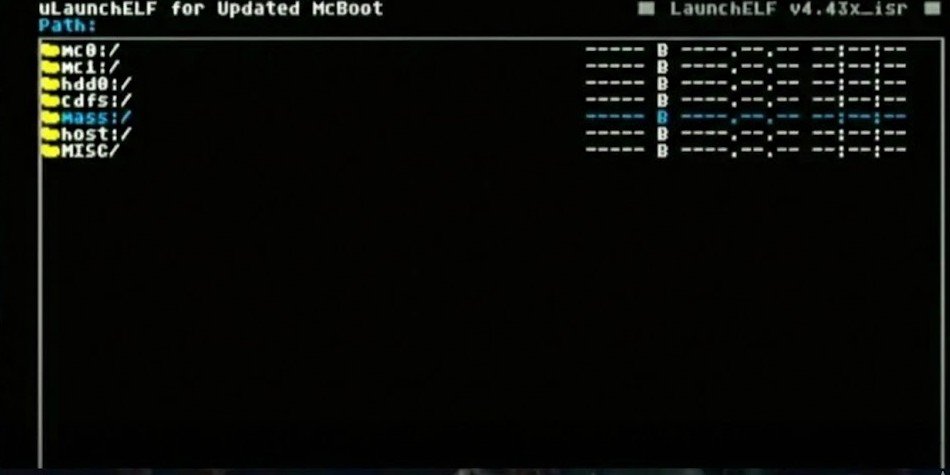
Step 3 – Launch uLaunchELF
- On the Free McBoot menu, pick
uLaunchELF - Press the confirm button (Cross or Circle, based on region)
- Wait for the file browser screen
You see entries like:
mc0:– memory card in slot 1mc1:– memory card in slot 2mass:– USB drive
Step 4 – Run The BIOS Dumper
- Select
mass: - Find your BIOS dumper ELF file
- Highlight it and press confirm
- A BIOS dumper screen appears
Most dumpers show a simple menu:
- Option to dump to
mass: - Progress text while writing files
Start the dump:
- Select dump to USB or
mass: - Wait until progress reaches 100 percent
- Do not power off during this phase
- Look for a clear “Done” or “Finished” message
You often end up with files such as:
SCPHxxxxx.binrom1.binrom2.binerom.binnvmoreeprom.bin
Step 5 – Move BIOS Files To Your PC
- Turn the PS2 off
- Remove the USB stick
- Plug the USB stick into your PC
- Create a folder named something like
PS2_BIOS_MyConsole - Copy every dumped BIOS file into that folder
Do not rename files yet. PCSX2 reads original names without problems.
How To Use The Dumped BIOS In PCSX2 (2026 Builds)

PCSX2 moved to a new QT interface, but BIOS setup stays simple.
Step 1 – Start PCSX2
- Launch PCSX2 on your PC
- Wait for the main window
If this is your first launch, a setup wizard appears and asks for a BIOS folder right away.
Step 2 – Point PCSX2 To Your BIOS Folder
On current 1.7 builds in 2026:
- Open
Settings - Go to
BIOSorSystempage - Click
Browsenext to BIOS search paths - Select the folder where you stored the dumped BIOS
- Press
OKorApply
PCSX2 scans the folder and lists every valid BIOS entry.
Step 3 – Pick Your BIOS
- Look at the BIOS list in PCSX2
- Pick the region you prefer (for example USA, Europe, Japan)
- Press
ApplyorOK
I usually pick the same region as the majority of my disc backups or ISOs.
Step 4 – Test With A Game
- Load an ISO or insert an original disc if your setup supports it
- Click
System->Boot ISOor similar option - Watch for the PS2 logo and game startup
If the dump worked, the game loads and reaches the title screen without BIOS errors.
Common Issues And Fixes
Quick Troubleshooting Table
| Symptom | Likely Cause | Fix |
|---|---|---|
mass: missing in uLaunchELF | USB format or USB stick issue | Reformat as FAT32, try a small 8 or 16 GB stick |
| Dumper freezes or black screen | Corrupt ELF or bad USB stick | Redownload dumper, copy again, try another USB stick |
| Only one small file on USB | Dump stopped early | Repeat dump, ensure stable power |
| PCSX2 shows “No BIOS found” | Wrong folder selected | Point PCSX2 to the exact folder with BIOS files |
| Games hang on PS2 logo | Incomplete or damaged BIOS dump | Run dumper again, verify full file set |
USB Not Detected In uLaunchELF
If mass: does not show:
- Reformat USB as FAT32 with default allocation size
- Avoid USB sticks larger than 64 GB
- Try the second front USB port on fat models
- Reboot PS2 and uLaunchELF after each change
Dumped Files Look Too Small
A main BIOS file under 2 MB often signals trouble.
- Run dump again
- Use another dumper build from a trusted forum
- Try a different USB stick
PCSX2 Does Not List Your BIOS
- Put all BIOS files from your dump into one folder
- Remove nested folders
- In PCSX2, remove every old BIOS path and add only this folder
- Press any
Refreshbutton in the BIOS page if present
Is This Method Safe And Still Working In 2026
Yes, this approach still works on real hardware and on recent PCSX2 1.7 builds in 2026.
I still recommend Free McBoot plus uLaunchELF plus a simple dumper over more complex network setups. Fewer parts mean fewer points of failure.
Compatibility With Latest PCSX2 Versions
- Works on old 1.6 stable builds
- Works on current 1.7 QT builds from 2026
- Works across Windows, Linux, and macOS ports
PCSX2 developers keep support for standard BIOS dumps from retail consoles. Upgrading PCSX2 does not break your BIOS files.
Can You Use This On Slim Or Fat PS2 Models
Yes.
Small differences:
- Some slim units draw a bit less power, so I avoid long sessions during summer heat
- Old fat models sometimes have weak USB ports, so I prefer short USB cables and simple sticks
The steps in this guide stay the same for every retail PS2.


